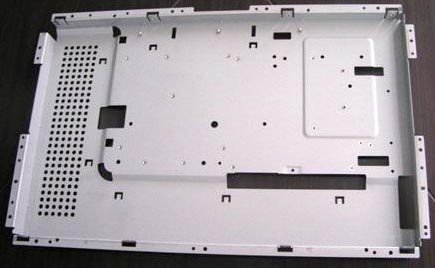
It can be a challenge to inspect metal stampings, measure die wear, and ensure that specifications have been met. Traditional methods like calipers or coordinate measuring machines can fail or introduce errors that make it difficult to accurately measure the entirety of a stamped part.

Stamped metal part: LCD screen panel
To overcome these difficulties, many companies in the automotive, aerospace, computing, consumer electronics, and other industries turn to 3D scanners. An industrial 3D scanner can perform a complete inspection of a metal stamping. Unlike traditional methods that rely on the capture of a few pre-programmed points, a non-contact 3D scanner captures millions of data points and represents the true geometry of the component.
Laser scanners are ideal for metal stampings because they allow quality control staff to:
- Quickly measure the entire part and compare it to a CAD model or known good part, no matter how complex the stampings are.
- Detect die wear and other manufacturing challenges.
- Reduce human error.
- Produce automated inspection reports.
While 3D scanning is still new to some quality managers, we’ve been pioneering industrial 3D scanners at ShapeGrabber for 20 years and have seen them used effectively for the measurement of metal stampings. We can show you how a 3D scanner is:
- Is fast. You don’t need to rely on a few sample points collected with a slow CMM. 3D scanners can capture millions of data points in minutes.
- Is easy. The visual nature of the results makes it possible to quickly troubleshoot a problem and get back to production. Moreover, you don’t need to write a computer program before scanning a part.
- Handles complex shapes. Curves and multiple features aren’t a problem for industrial 3D laser scanners. They easily scan the complex surface dimensions of metal stampings.
- Saves time & money. Parts don’t have to be placed in an expensive fixture to be scanned, leading to significant savings in capital costs.
