Customer:

MPC Inc.
Walworth, Wisconsin, United States
Background:
Miniature Precision Components (MPC) Inc. supplies major automotive manufacturers with molded and extruded thermoplastic components and assemblies such as valves, fittings, connectors and fluid reservoirs. Founded in 1972, MPC employs more than 1,700 employees.
Situation:

As MPC started to develop larger, more complex products such as plastic engine covers featuring logos, it ran into problems with shrinkage and warpage. To inspect these complex shapes, MPC tried a variety of techniques that proved to be inadequate:
- Traditional touch-probing methods using a coordinate measuring machine (CMM) were time consuming and could not thoroughly inspect the complex three-dimensional parts.
- Mold-flow analyses proved to be very costly and produced only theoretical warpage models.
- Photogrammetry results were difficult to interpret due to the dark colors of each part and the two-dimensional nature of photography.
With only a four-week window between receipt of a mold and production, MPC was having difficulty troubleshooting the molding process and conducting quality assurance tests in time.
Solution:
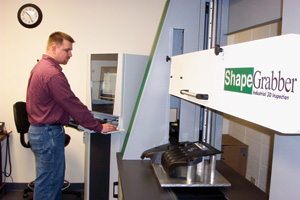
To obtain faster, more accurate results, MPC began using the ShapeGrabber® Ai810 3D scanning system. Using the non-contact laser scanner, MPC can now obtain full-color tolerance maps – color-coded 3D images used to quantify the deviation of the part’s shape from CAD specifications – to conduct accurate what-if analyses and quality control inspections on its complex plastic parts. By obtaining 3D images in minutes as opposed to hours, MPC can now perform more troubleshooting and quality assurance inspection activities within its narrow four-week timeframe to ensure that its parts are shipped on time and are of the highest quality.
