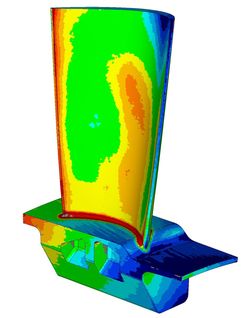
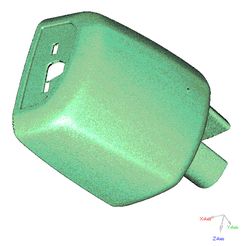
One of the many benefits of a 3D laser scanner is that it is suitable in most quality control environments. In particular, a 3D scanner can enhance 100% inspection, statistical process control (SPC), and part production approval processes (PPAP).
100% Inspection Process: Enhancing Efficiencies
In the aerospace industry as an example, many parts require 100% inspection to ensure that every part shipped conforms exactly to specifications. In this environment, the volume of parts is relatively low and the impact of a failed part is very high. ShapeGrabber 3D scanners are used by a number of aerospace-parts manufacturers to increase the efficiency and coverage of 100% inspection processes.
By rapidly capturing the entire surface area of a part – including complex-shaped parts such as molded plastics or cast metals – a 3D laser scanner enhances 100% inspection with speed, and:
- An accurate measurement of the whole part can be obtained in minutes
- No special skills are required to conduct the scan
- The scanned data is quickly compared to spec via direct comparison to CAD models, producing visual reports that show deficiencies at a glance
Statistical Process Control: Enhancing Data
In other situations, it may not be possible (or practical) to manually inspect each and every part off the line. Instead, manufacturers may use statistical process control (SPC). By testing a random sample of products as they leave the production line and extrapolating the results, manufacturers develop company-specific models to determine product conformance. This is a common practice in the automotive industry, for example.
Traditionally, SPC methods were tailored to devices that measure only a few points – such as gauges or coordinate  measuring machines (CMMs). Most SPC models were developed more than 20 years ago, and while they have been refined over time, most do not include a 3D scanner as a source of inspection data.
Today, a 3D scanner can dramatically improve an existing SPC model by providing much more data than traditional methods. A 3D laser scanner captures a dense “point cloud” of millions of data points that represent the entire surface area of the part. 3D scanners also reduce inspection time dramatically as this data can be captured in minutes.
ShapeGrabber 3D scanners interoperate with laser scanner software that include built-in SPC capability, and that can also export the measurements for treatment by favorite SPC packages such as Minitab. This makes it simple to implement a ShapeGrabber 3D scanner within an SPC environment. SPC can also help to identify and prevent defects early in the production process, rather than correcting problems after they have occurred.
Production Part Approval Process: Enhancing Speed
3D laser scanners can also shave time off of the Production Part Approval Process (PPAP), a standard approval process for new parts in the automotive industry. To obtain PPAP approval, manufacturers must measure a few parts many times to establish credibility. This is usually done with coordinate measuring machines (CMMs), and is typically very time consuming.
A ShapeGrabber automated 3D scanner makes quick work of this task. It not only reduces the inspection time required, but also generates more thorough results as well as automated reports.
The 3D scan data provided by ShapeGrabber scanners is also NIST-traceable.
